
Mosaic Pendant (Mini mosaics)
Making a pendant is probably easier than you think. There are many ways to make them. I use Apoxie Sculpt (AS) which acts as the adhesive and the grout. If you prefer you can glue the tesserae to the pendant let dry then grout.
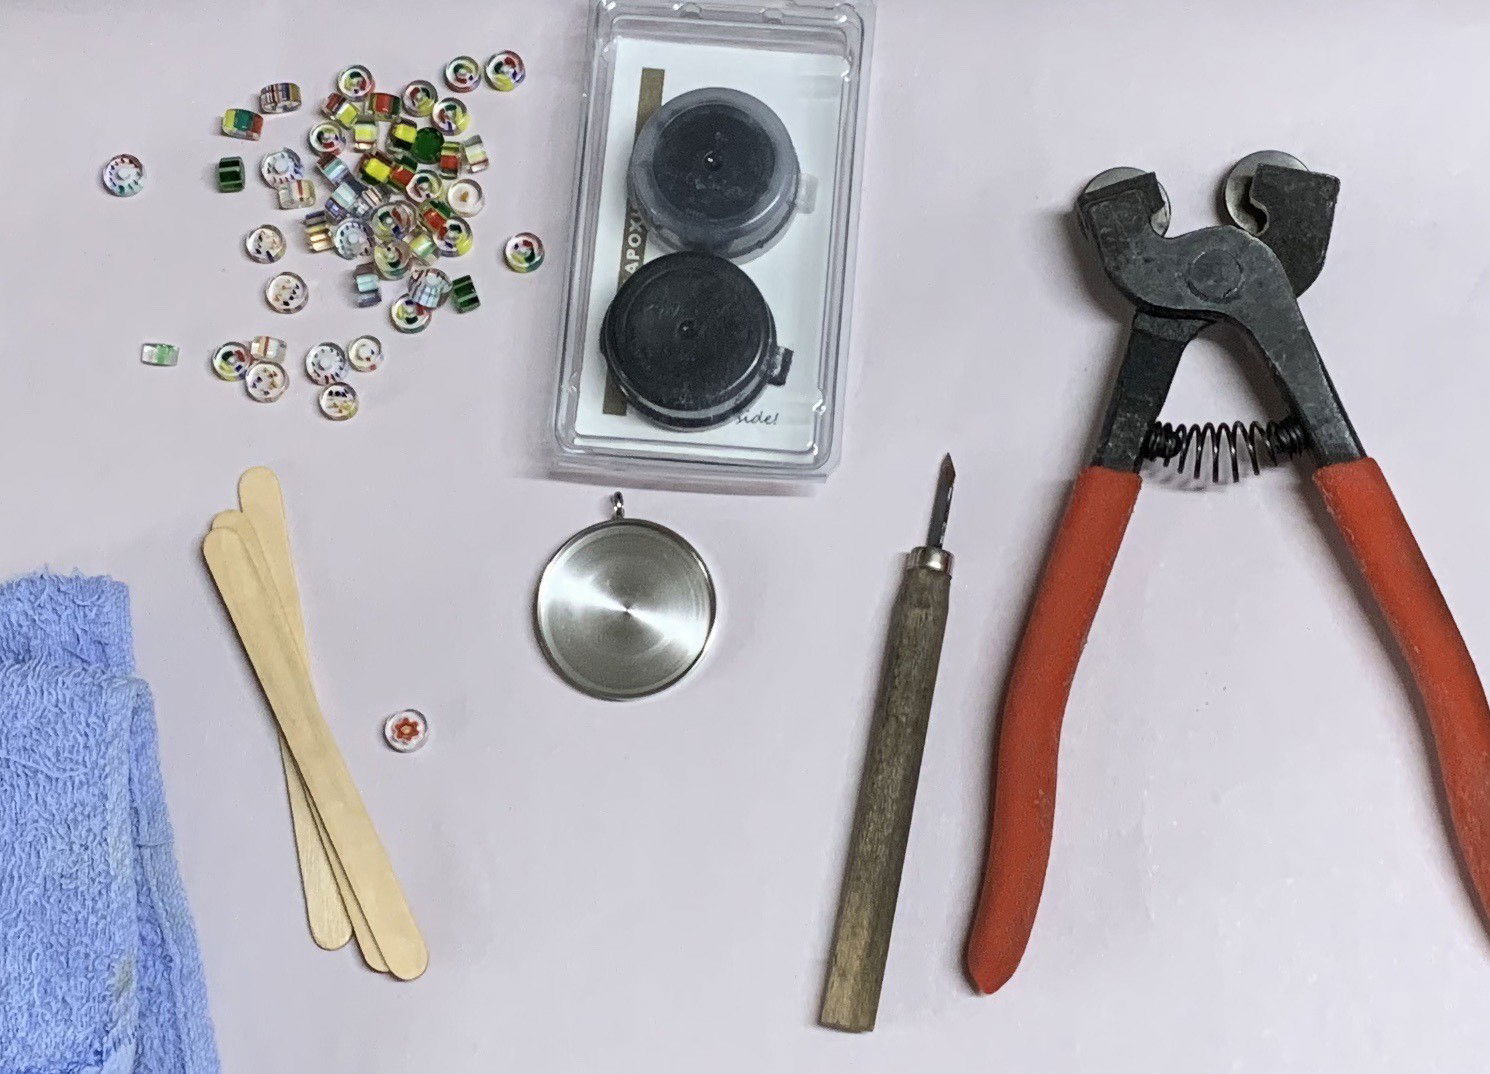
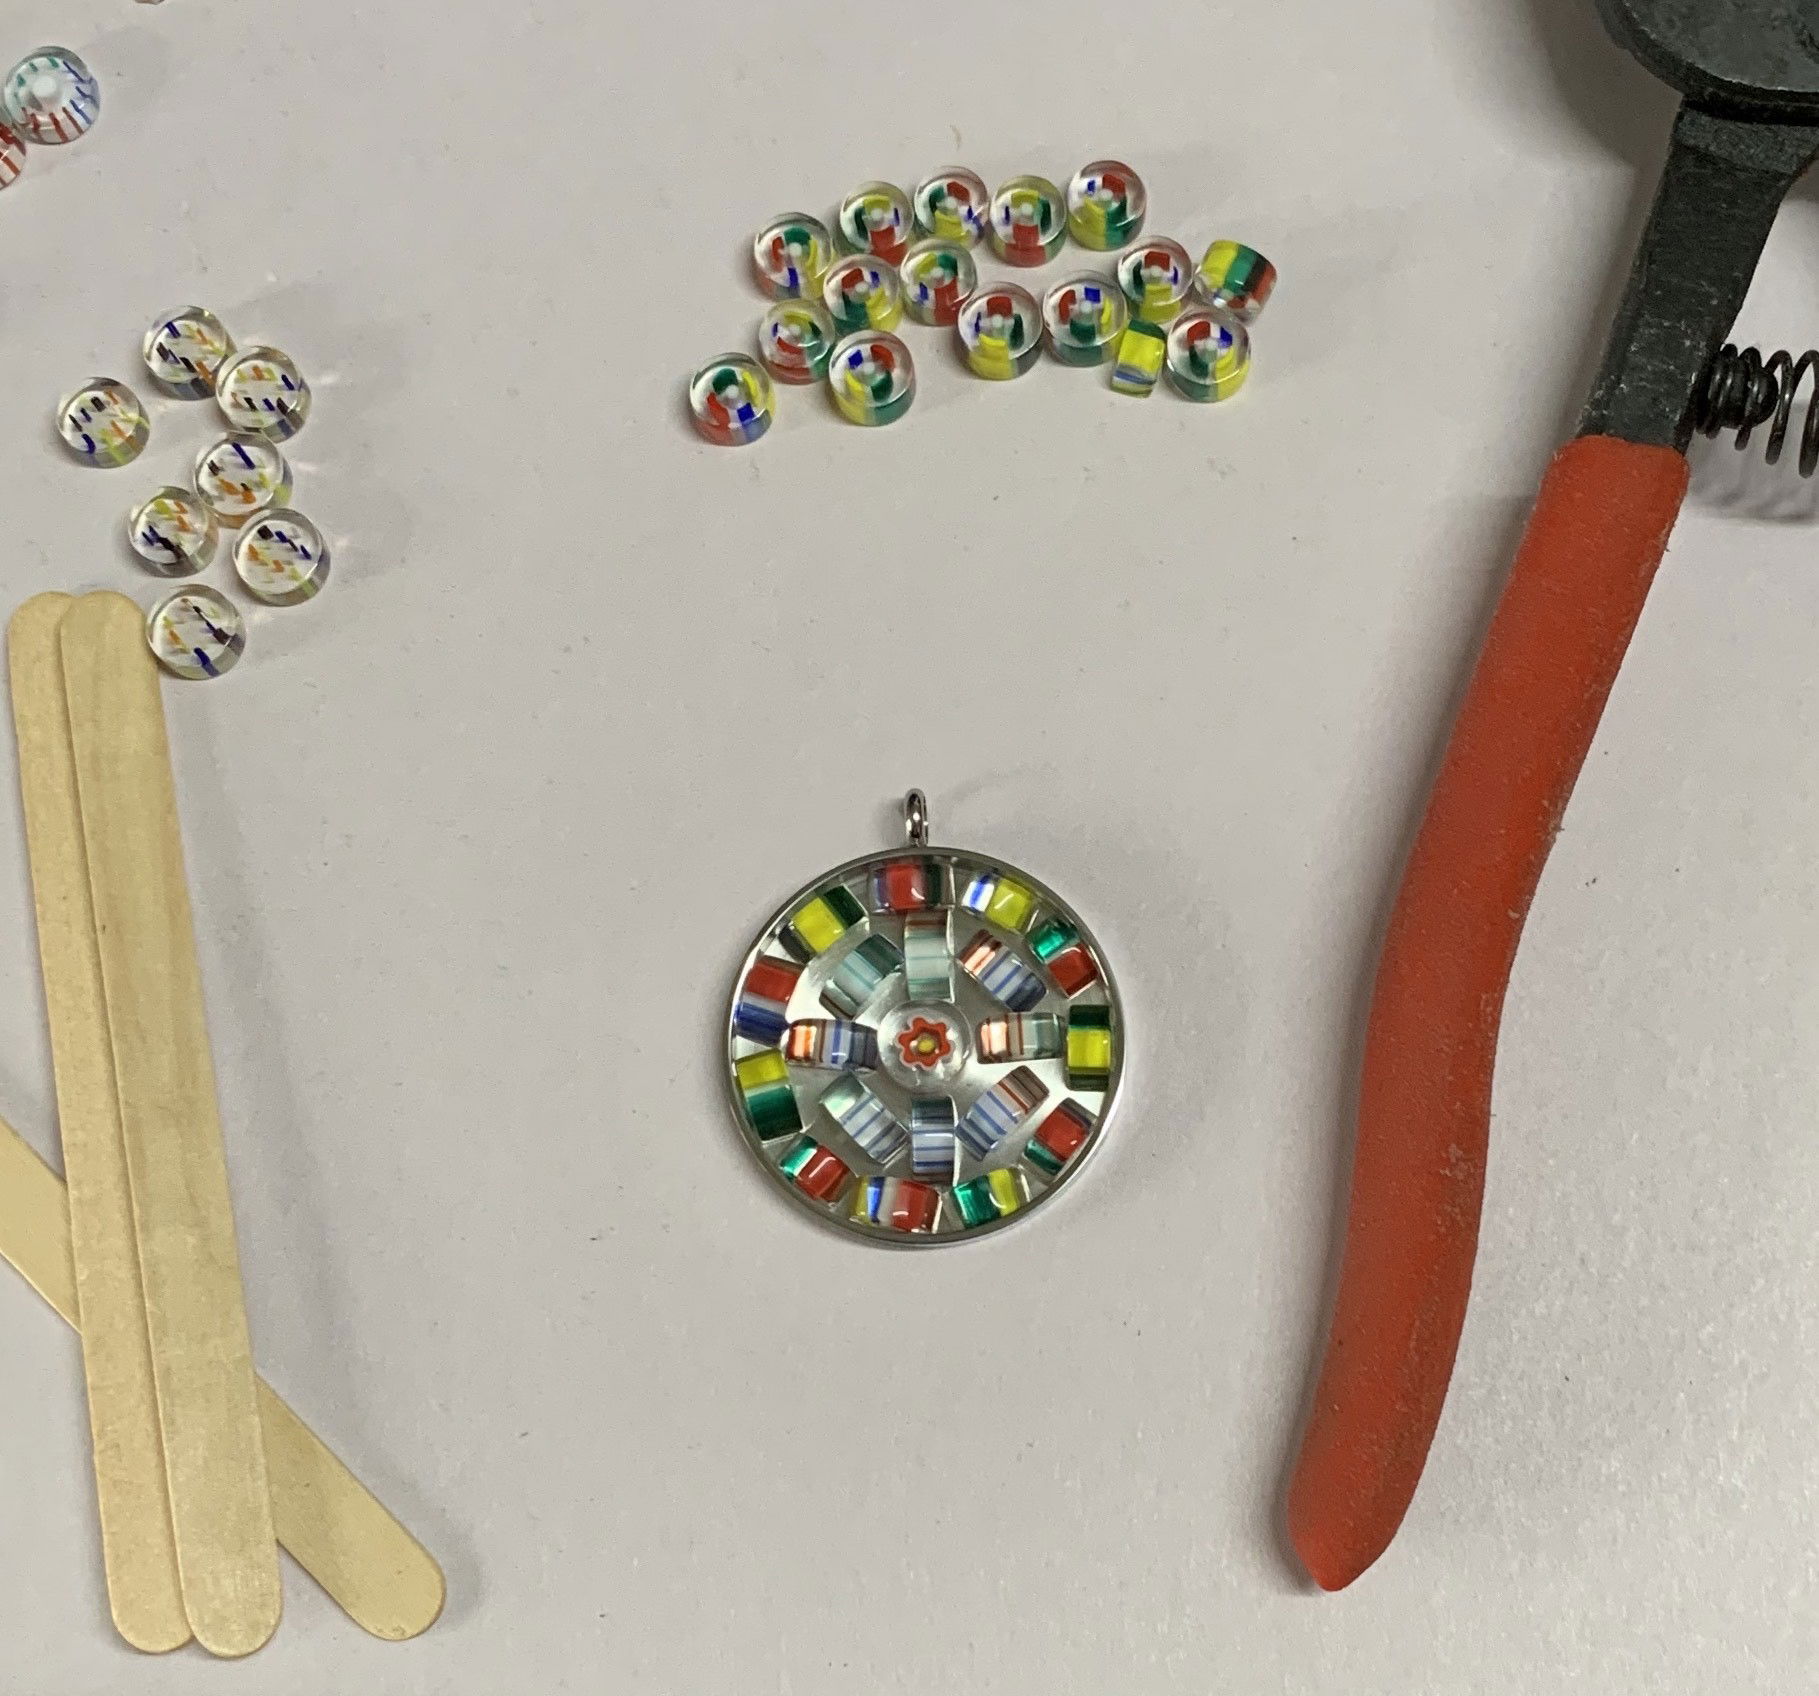
Step 1. Organise yourself with anything you are going to need. In this procedure I used:
- Wheeled Nippers
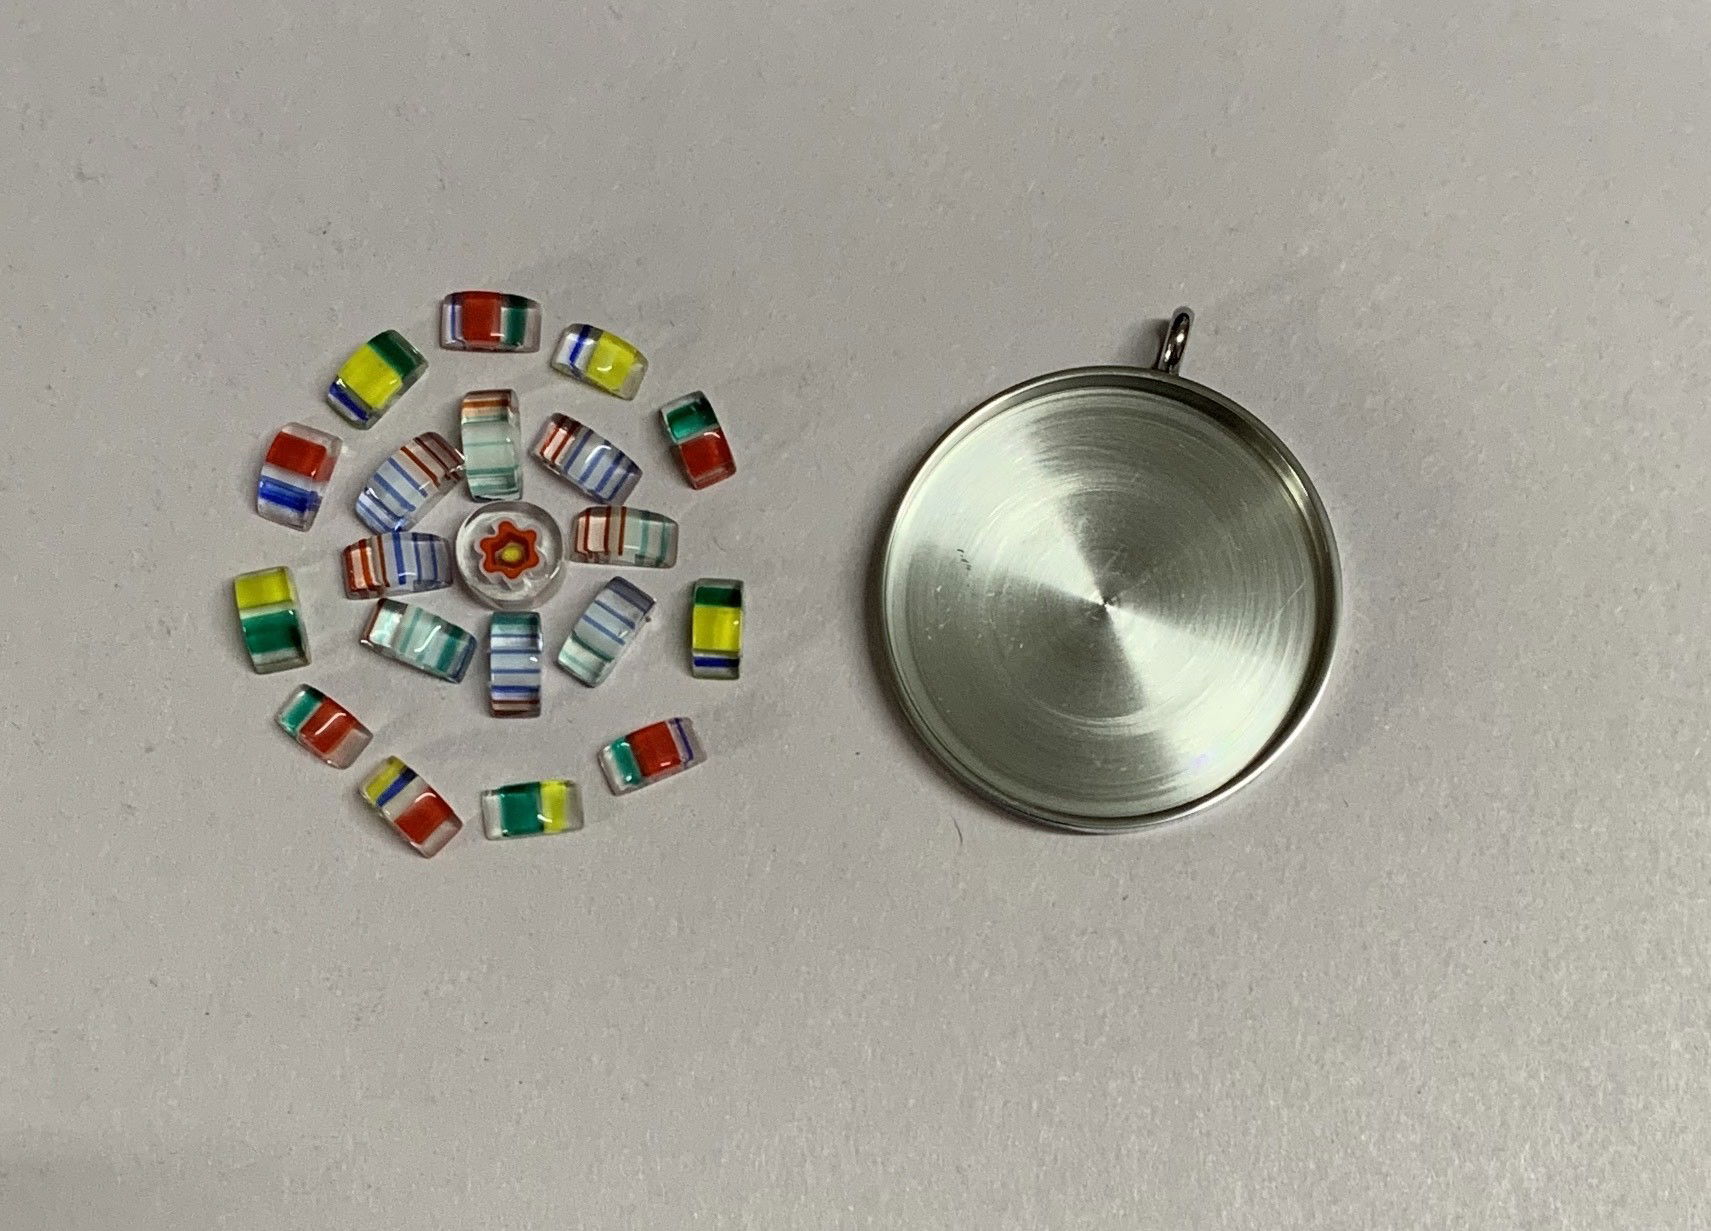
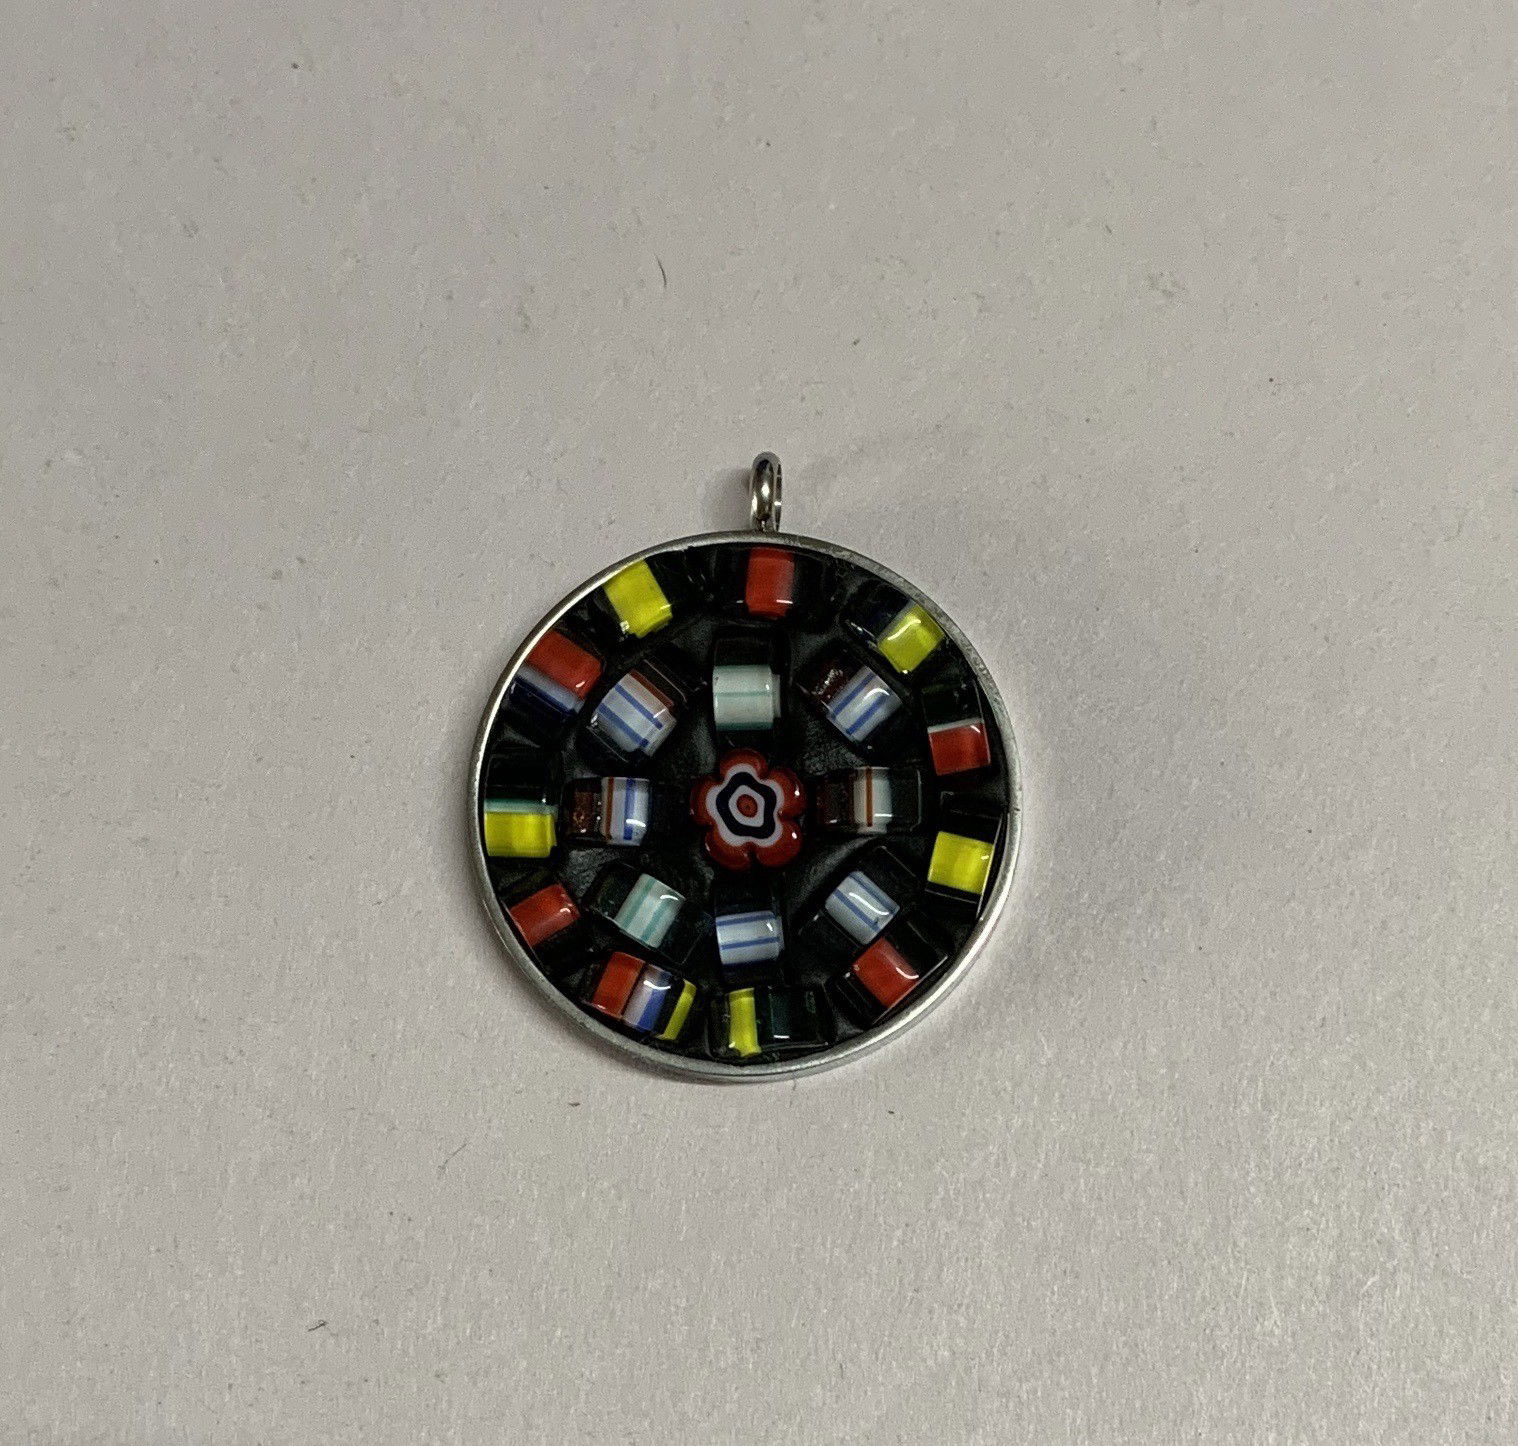
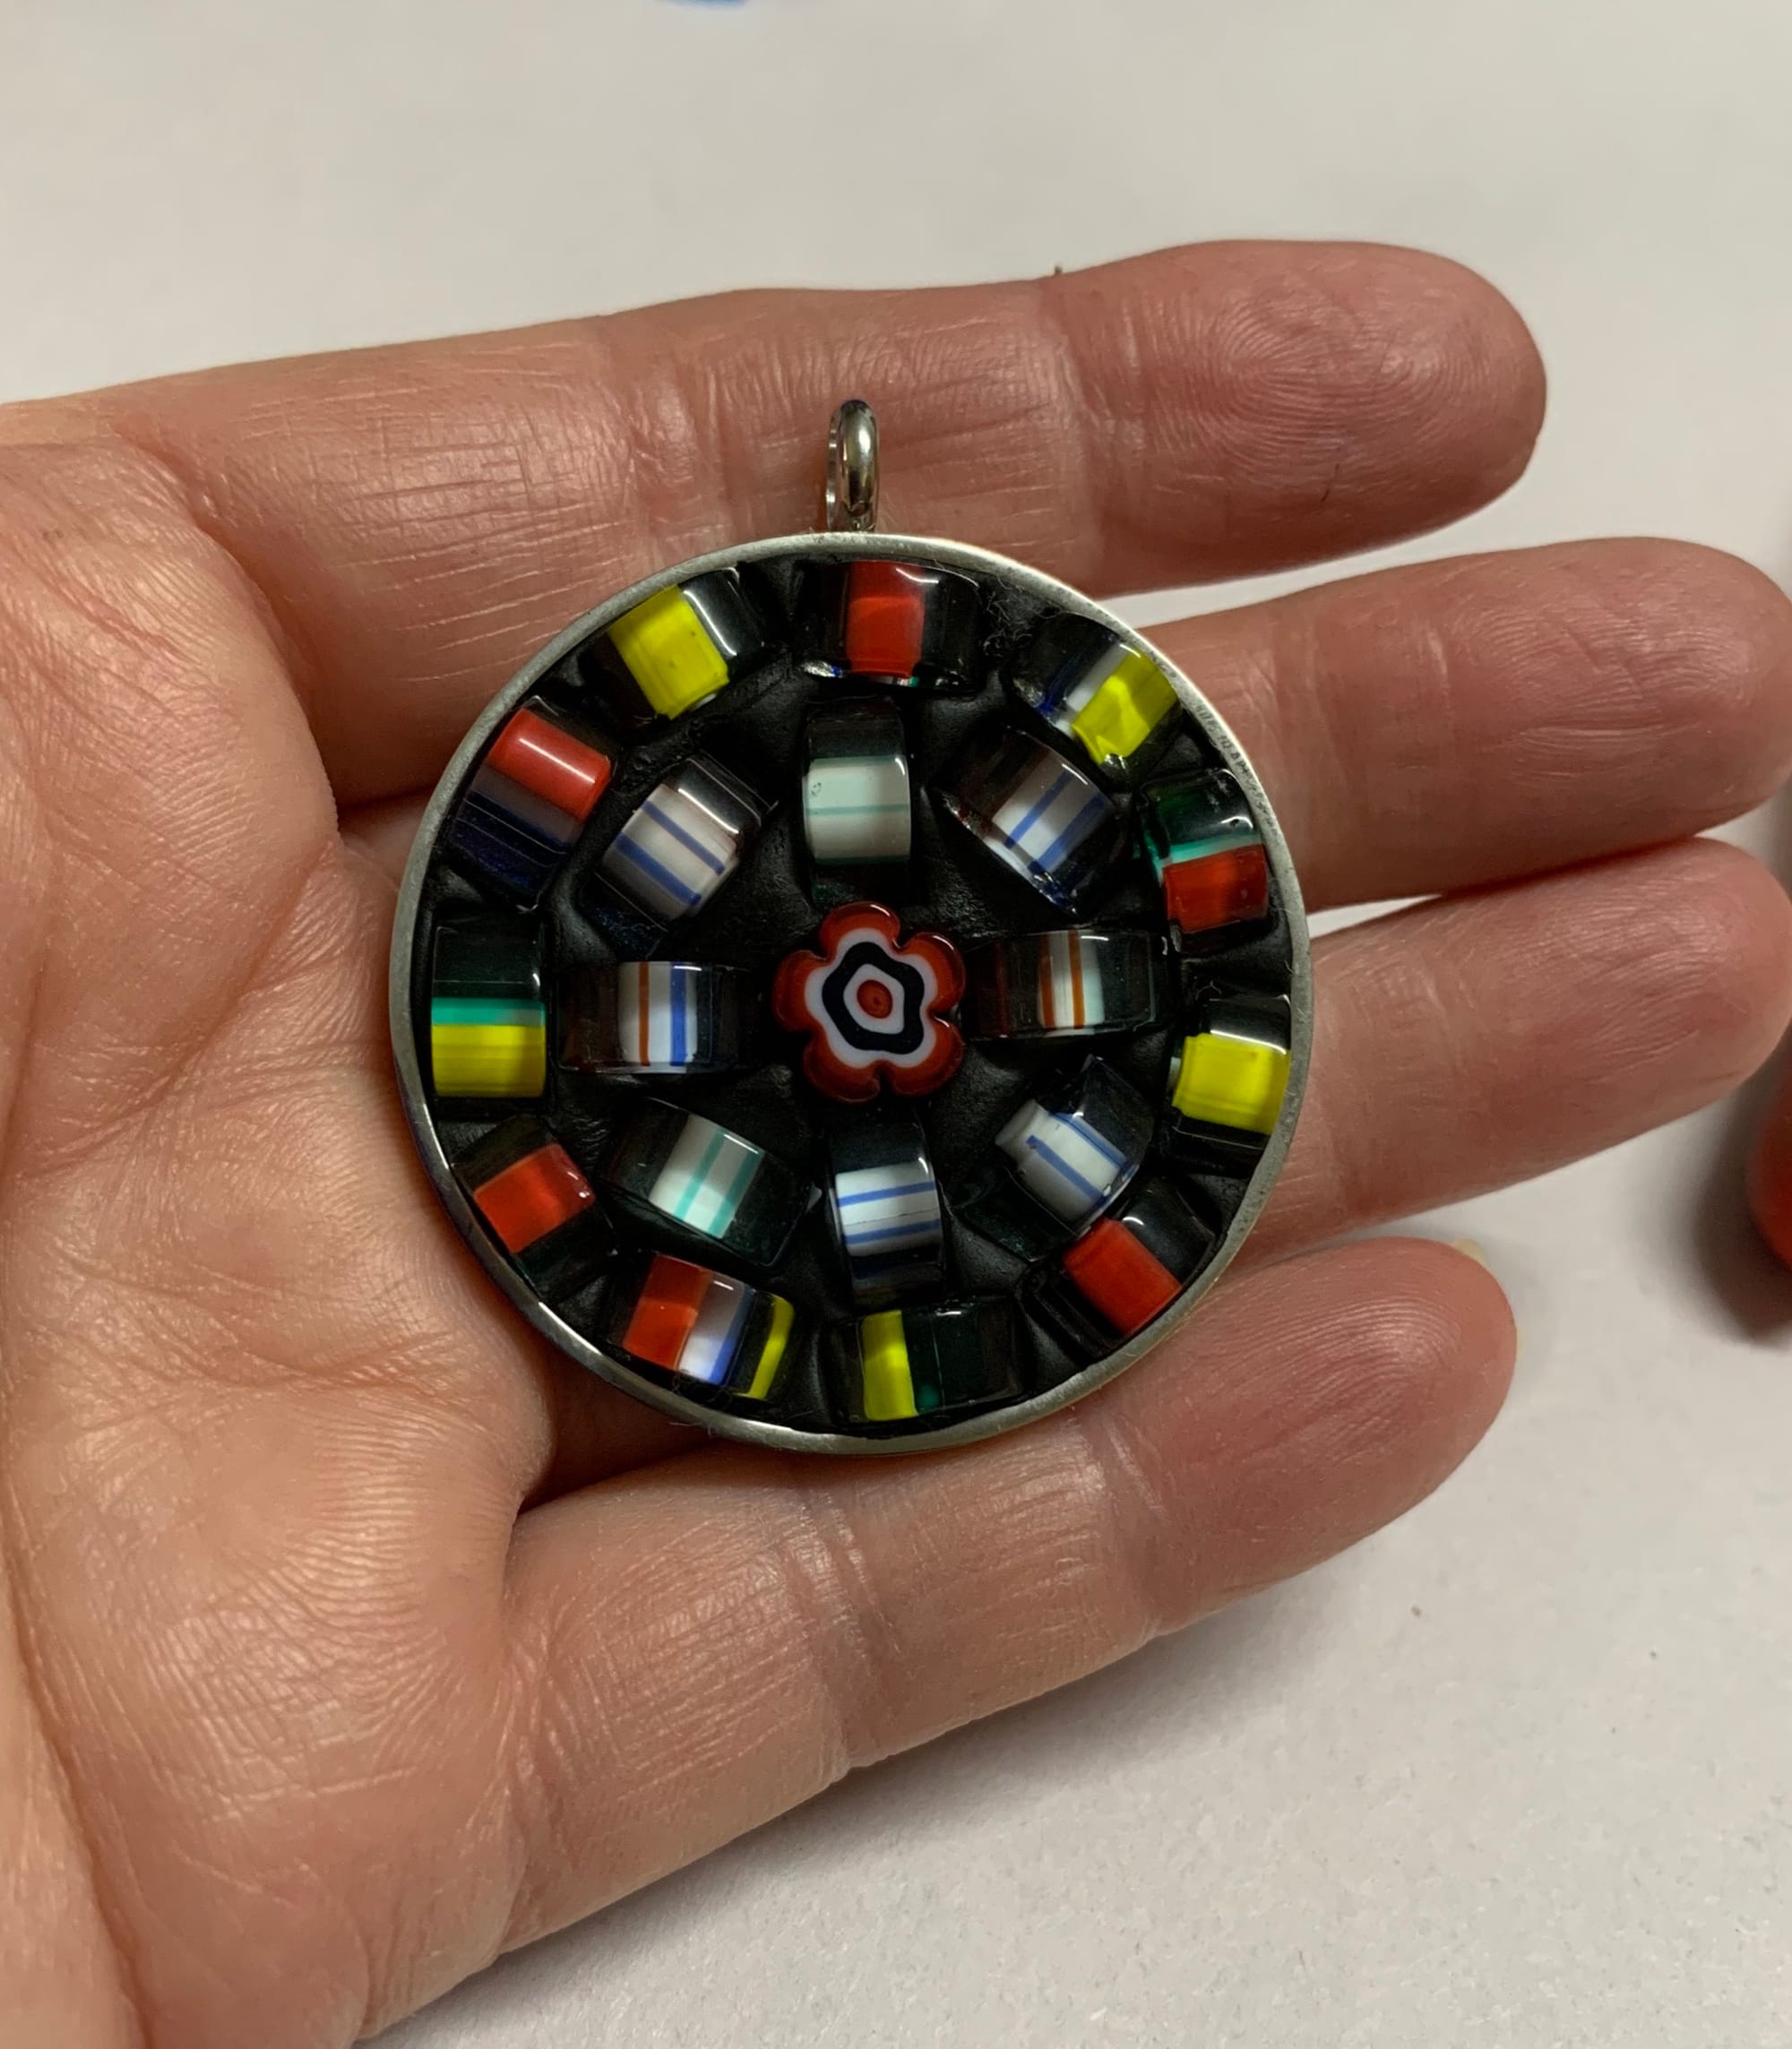
- Candy Cane Millefiori (and 1 floral piece)
- 1 blank round pendant
- Paddle pop sticks
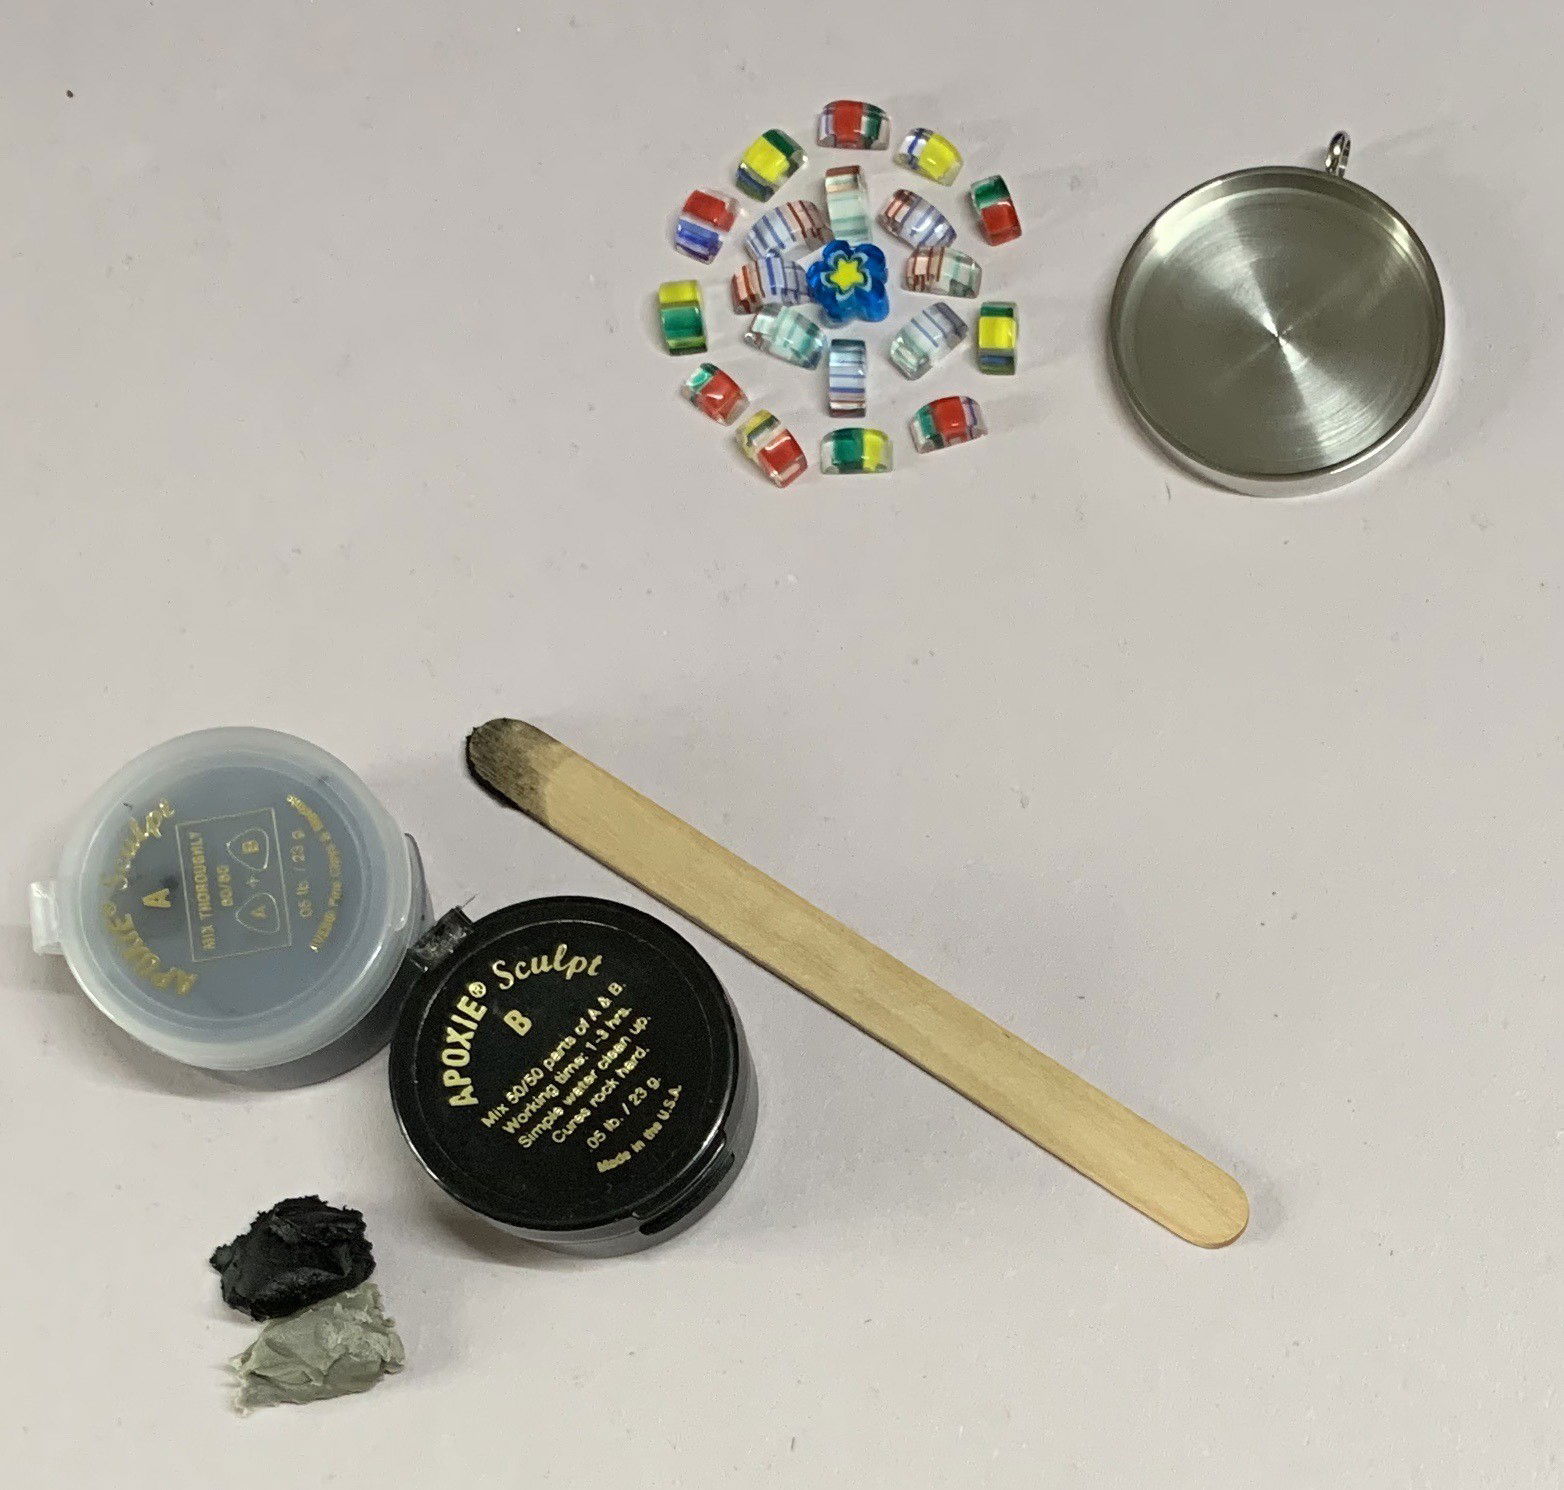
- Black Apoxie Sculpt
- 1 Scrape and poke (you could use tweezers if you prefer)
- Disposable gloves
- 1 face washer with a damp corner (for cleanup)
Step 2. Work out your design. I place my design in the blank pendant then when i'm happy with it I take it out and arrange it on the table in the same design. This makes it easier to place the tesserae back in the pendant without getting confused about your design. I also keep spare tesserae around in case I change my mind.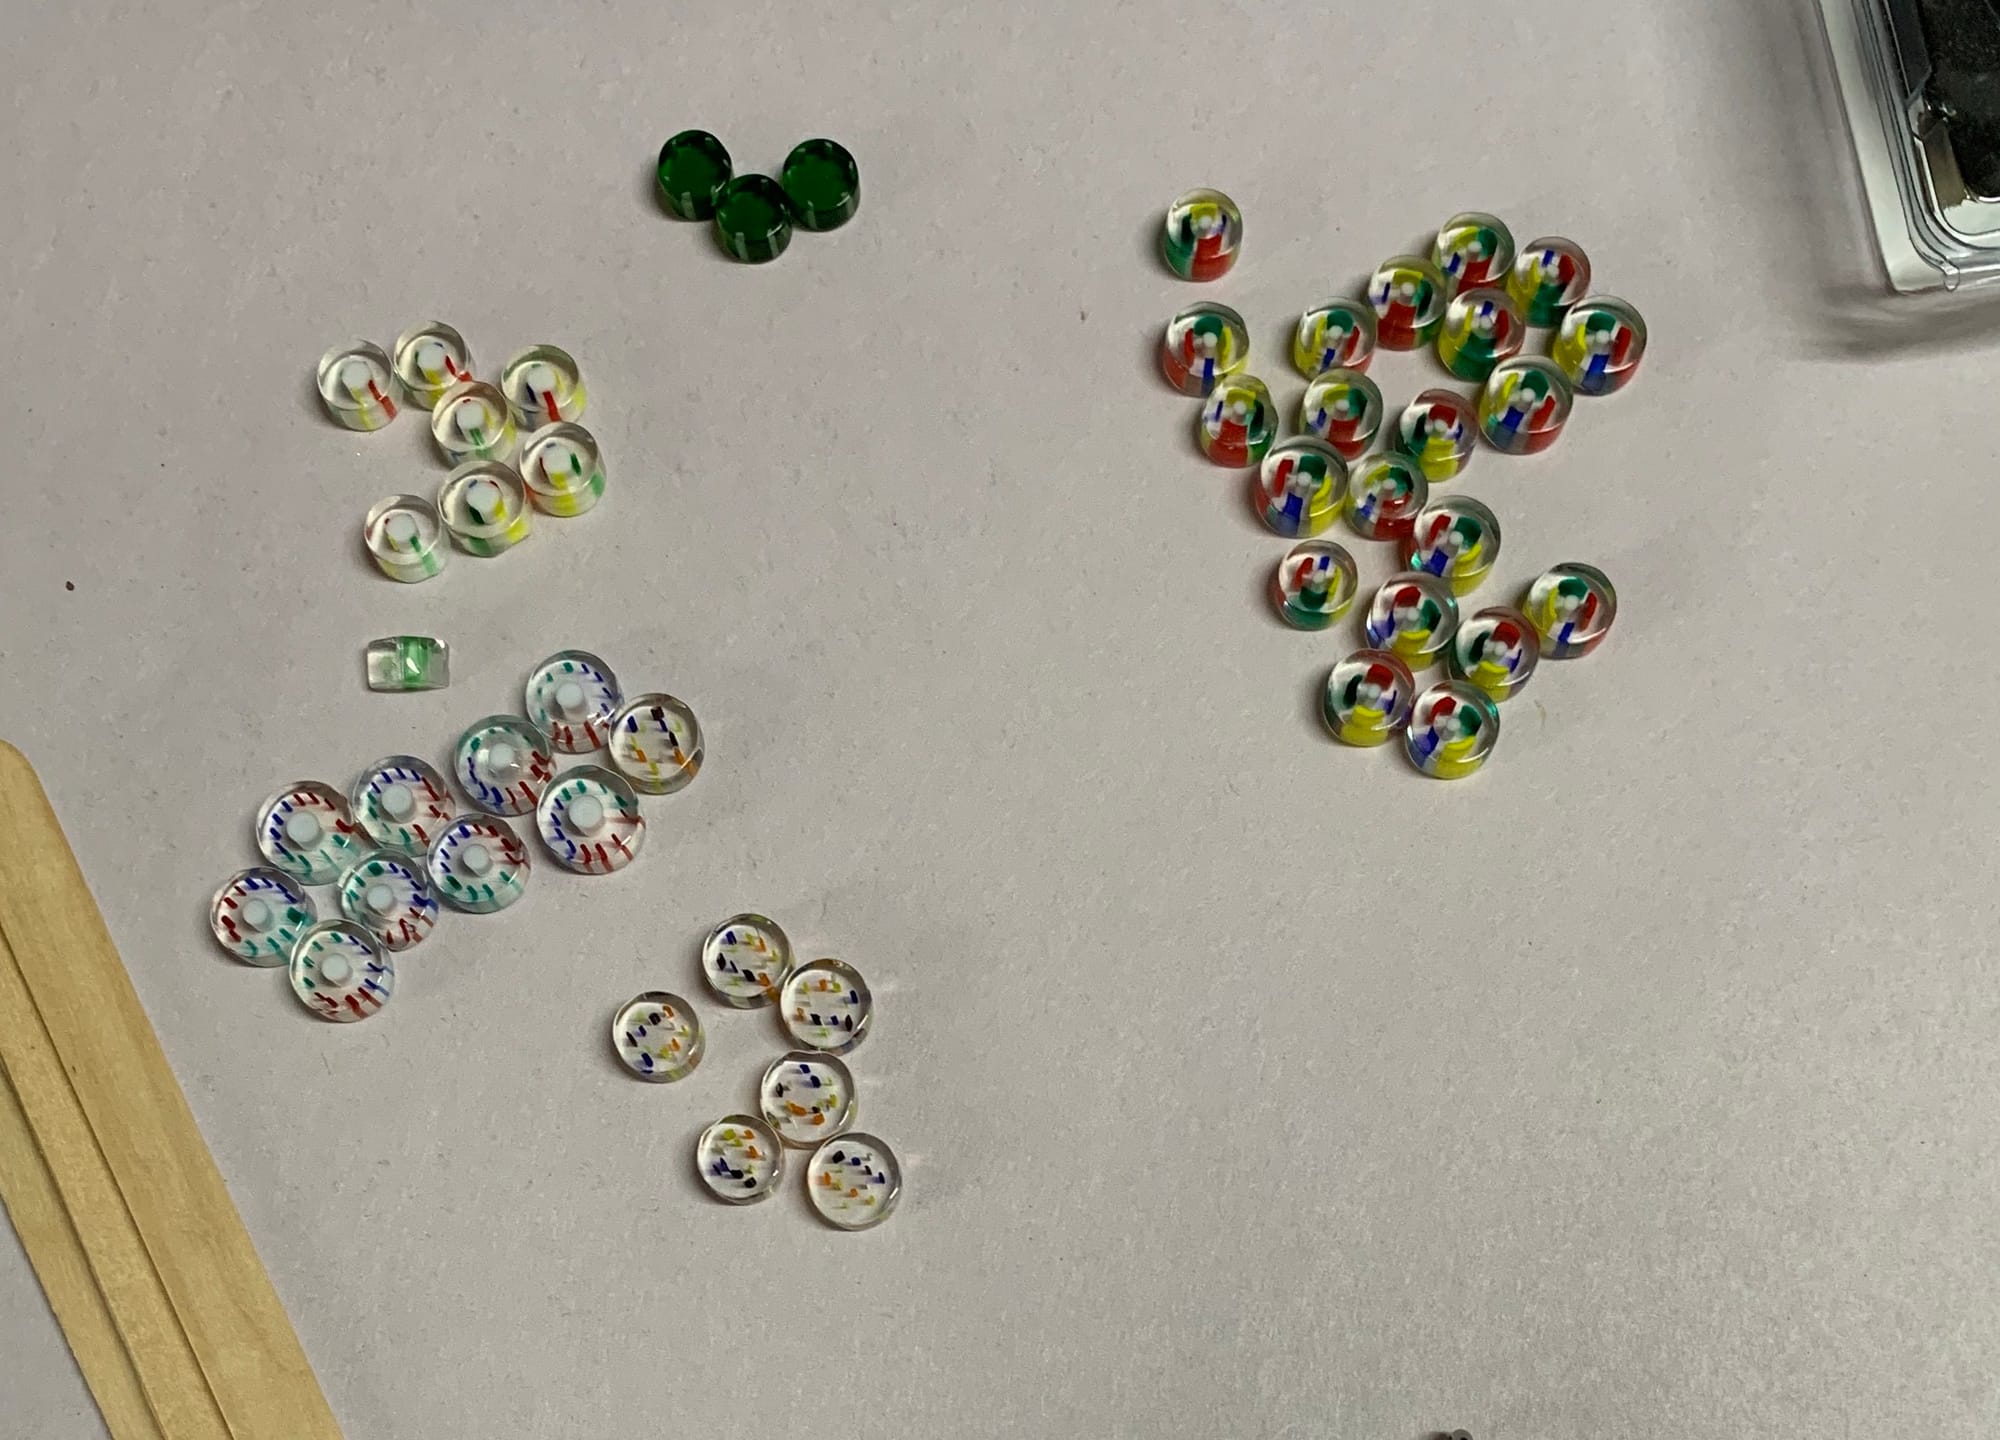
Step 3. Wear disposable gloves and use a paddle pop stick to scoop out equal parts of AS from tub A and tub B. Make sure you don't use the same end of the stick or different sticks, if the AS is mixed or touches the other in either tub it will begin to harden and become unusable.
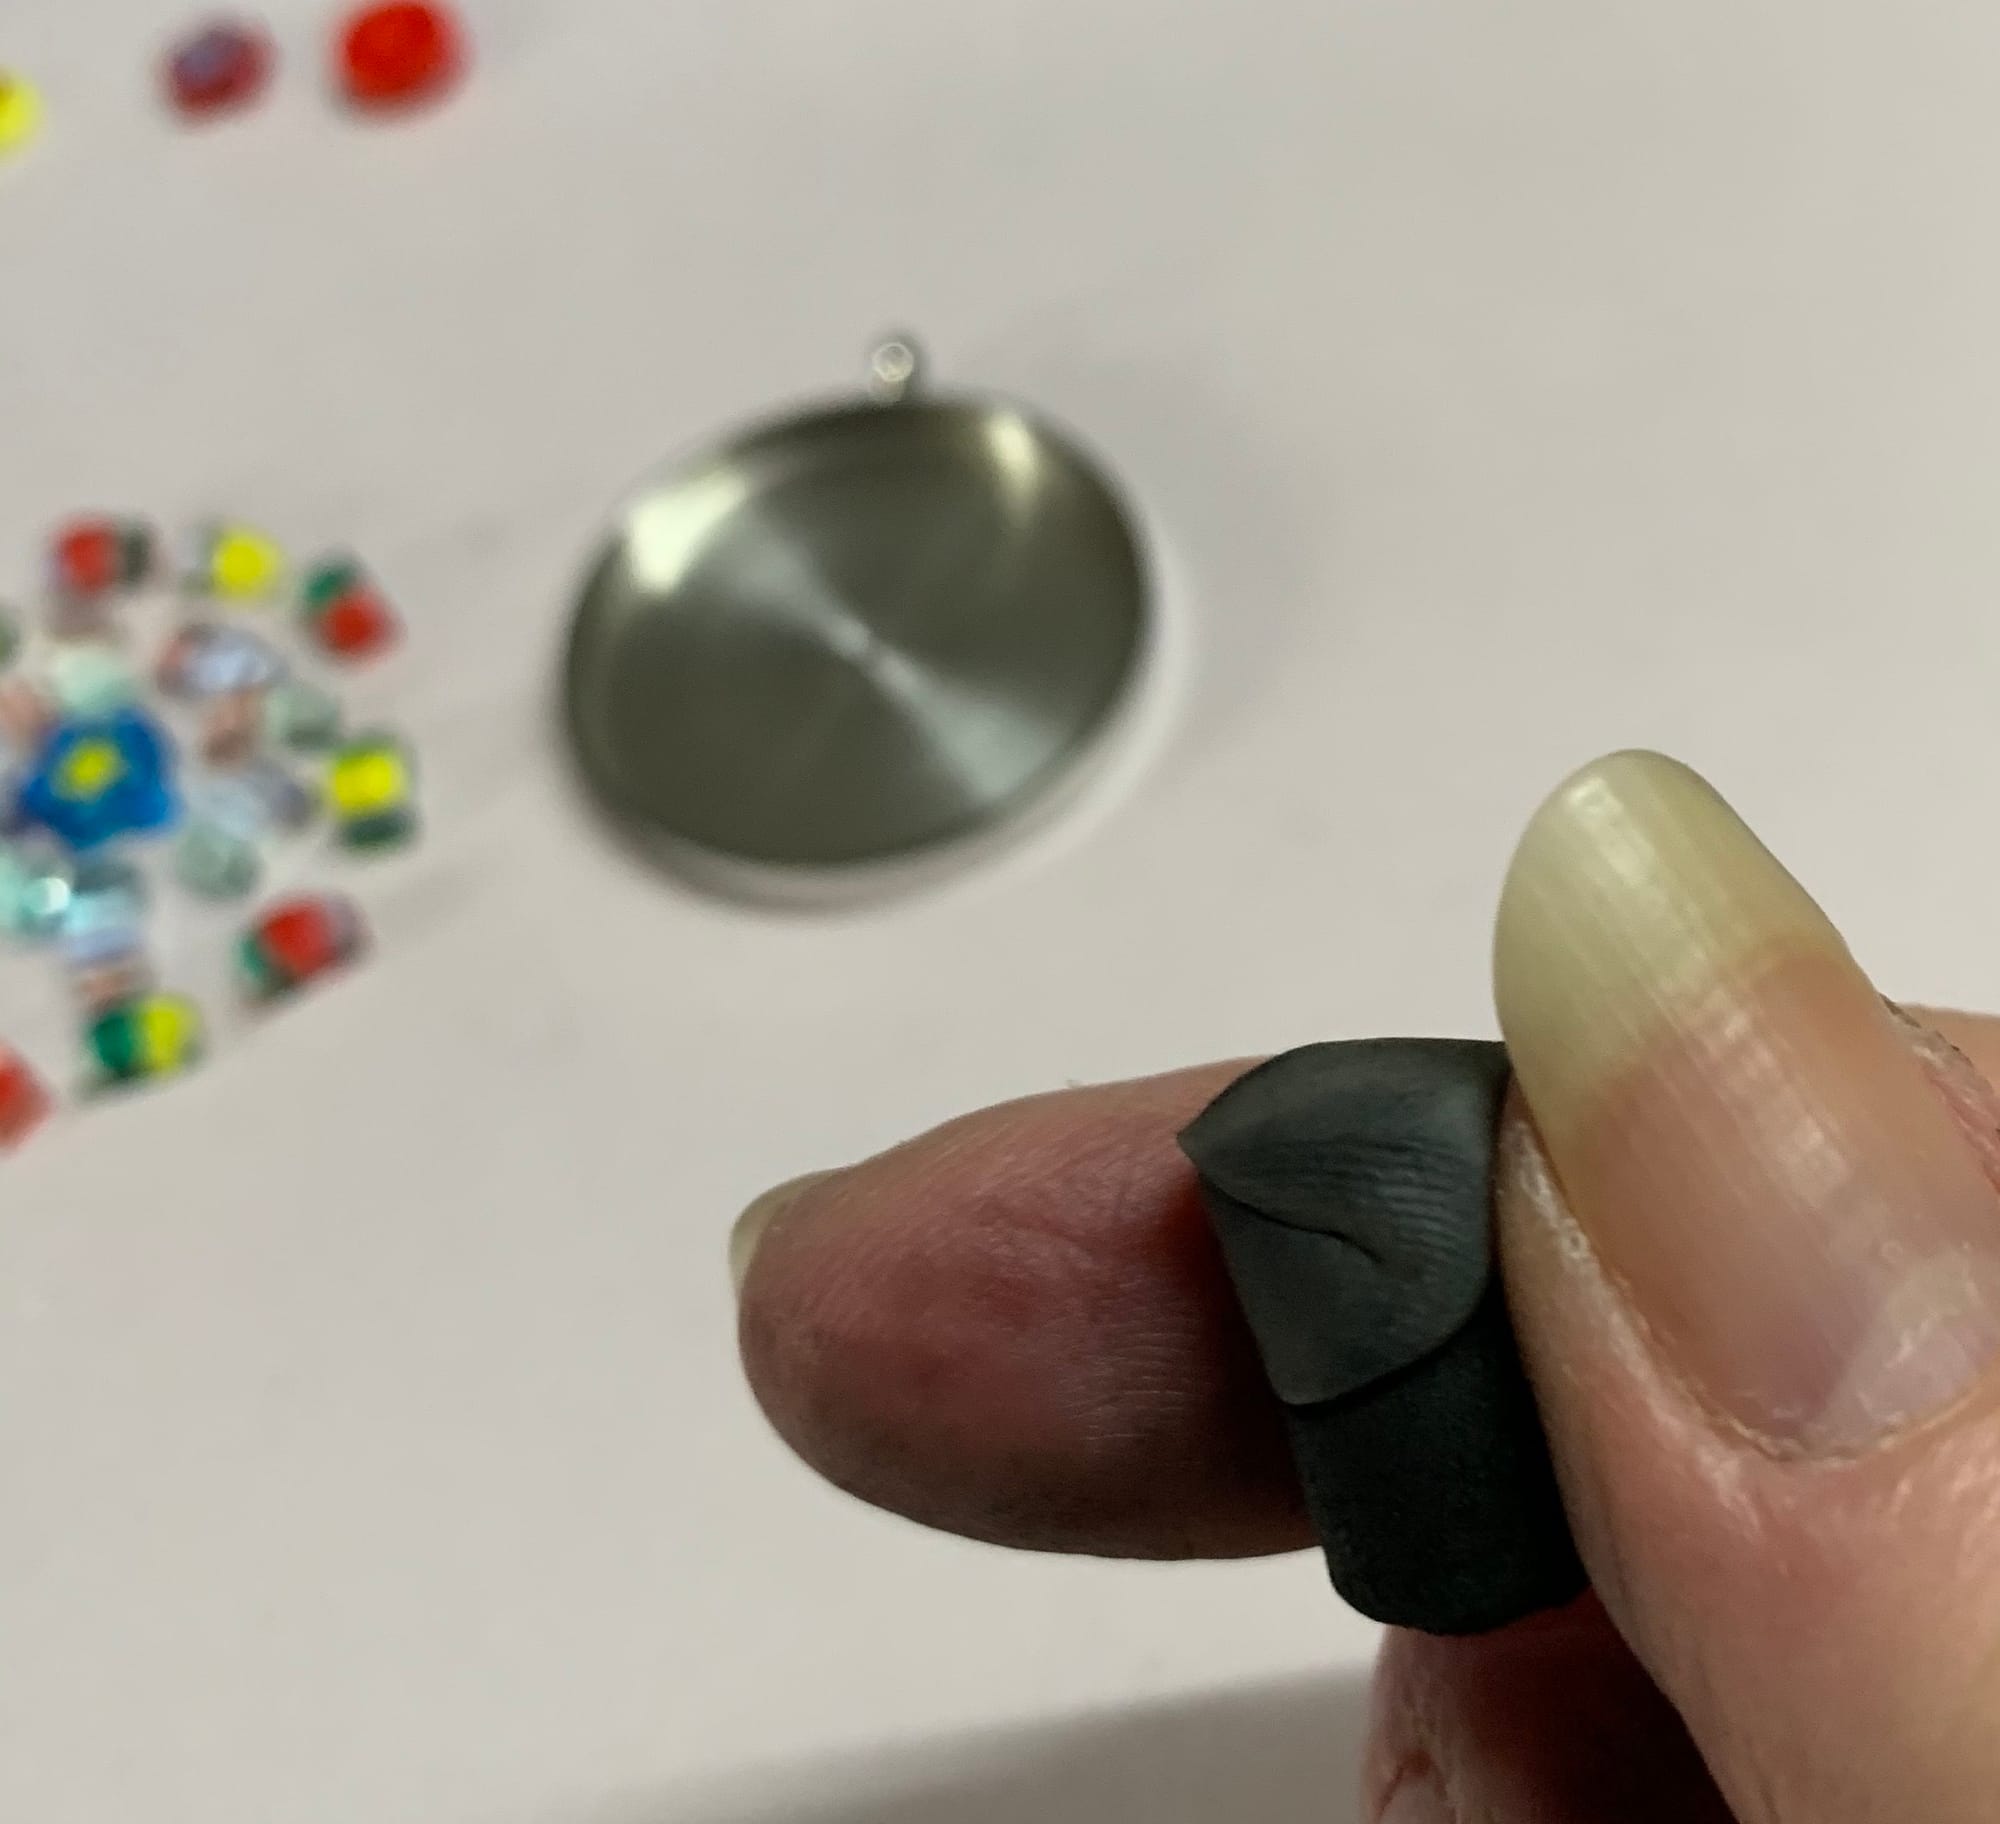
Step 4. Mix the AS until no more grey is seen for 2 minutes. This step is important because it needs to be mixed well to ensure it hardens. Let the mixture rest for 5 mins. Once mixed you will have 1-2hrs to work with it. It will then take about 24 hrs to cure completely to a semi gloss finish.
Step 5. Press the AS into your pendant. Ensure it is pressed right up to the sides and flatten it out.
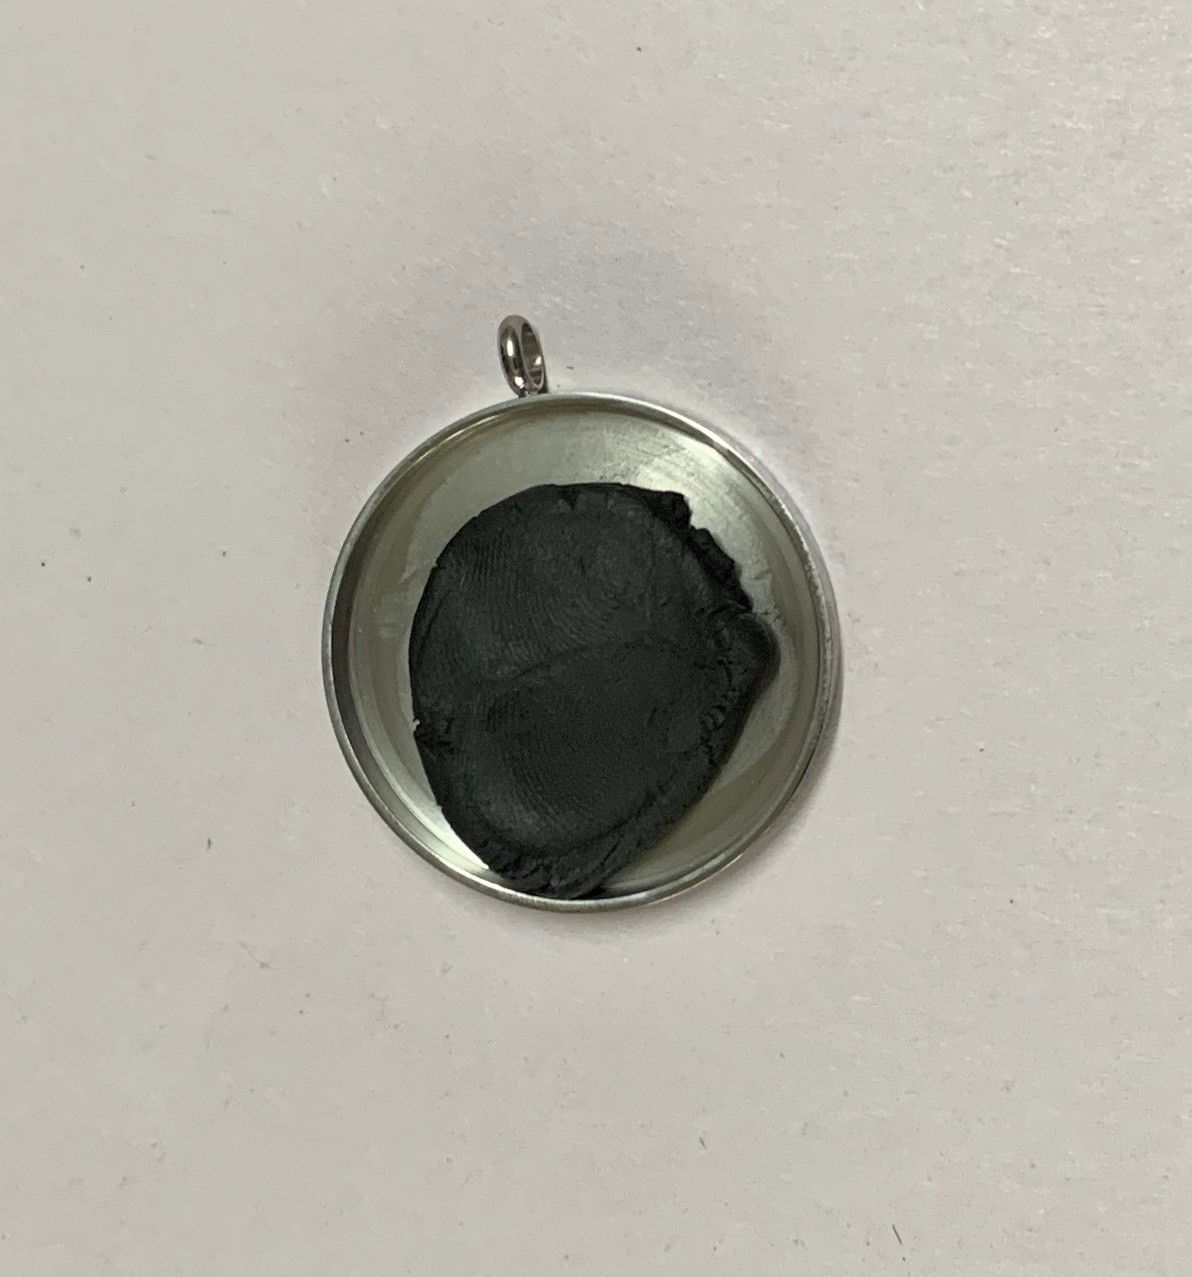

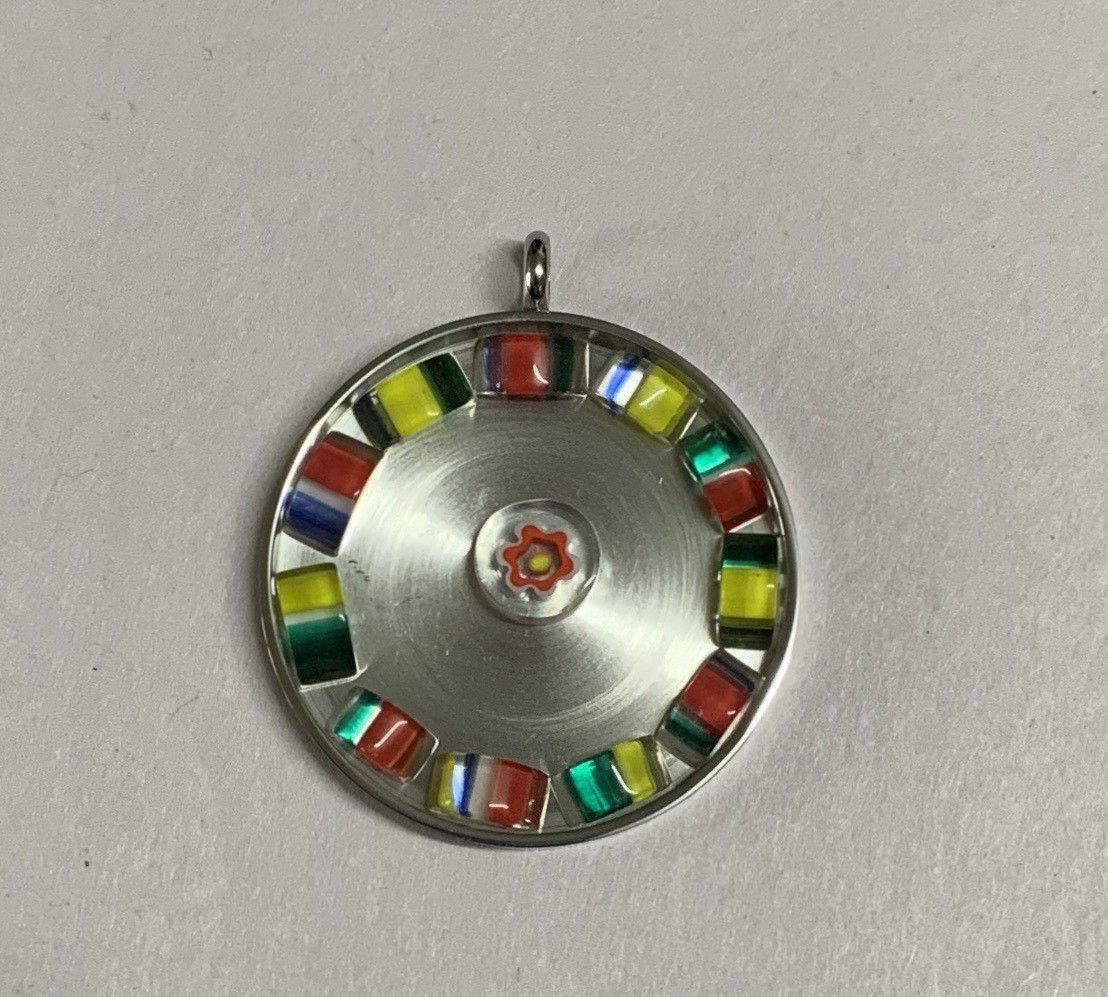
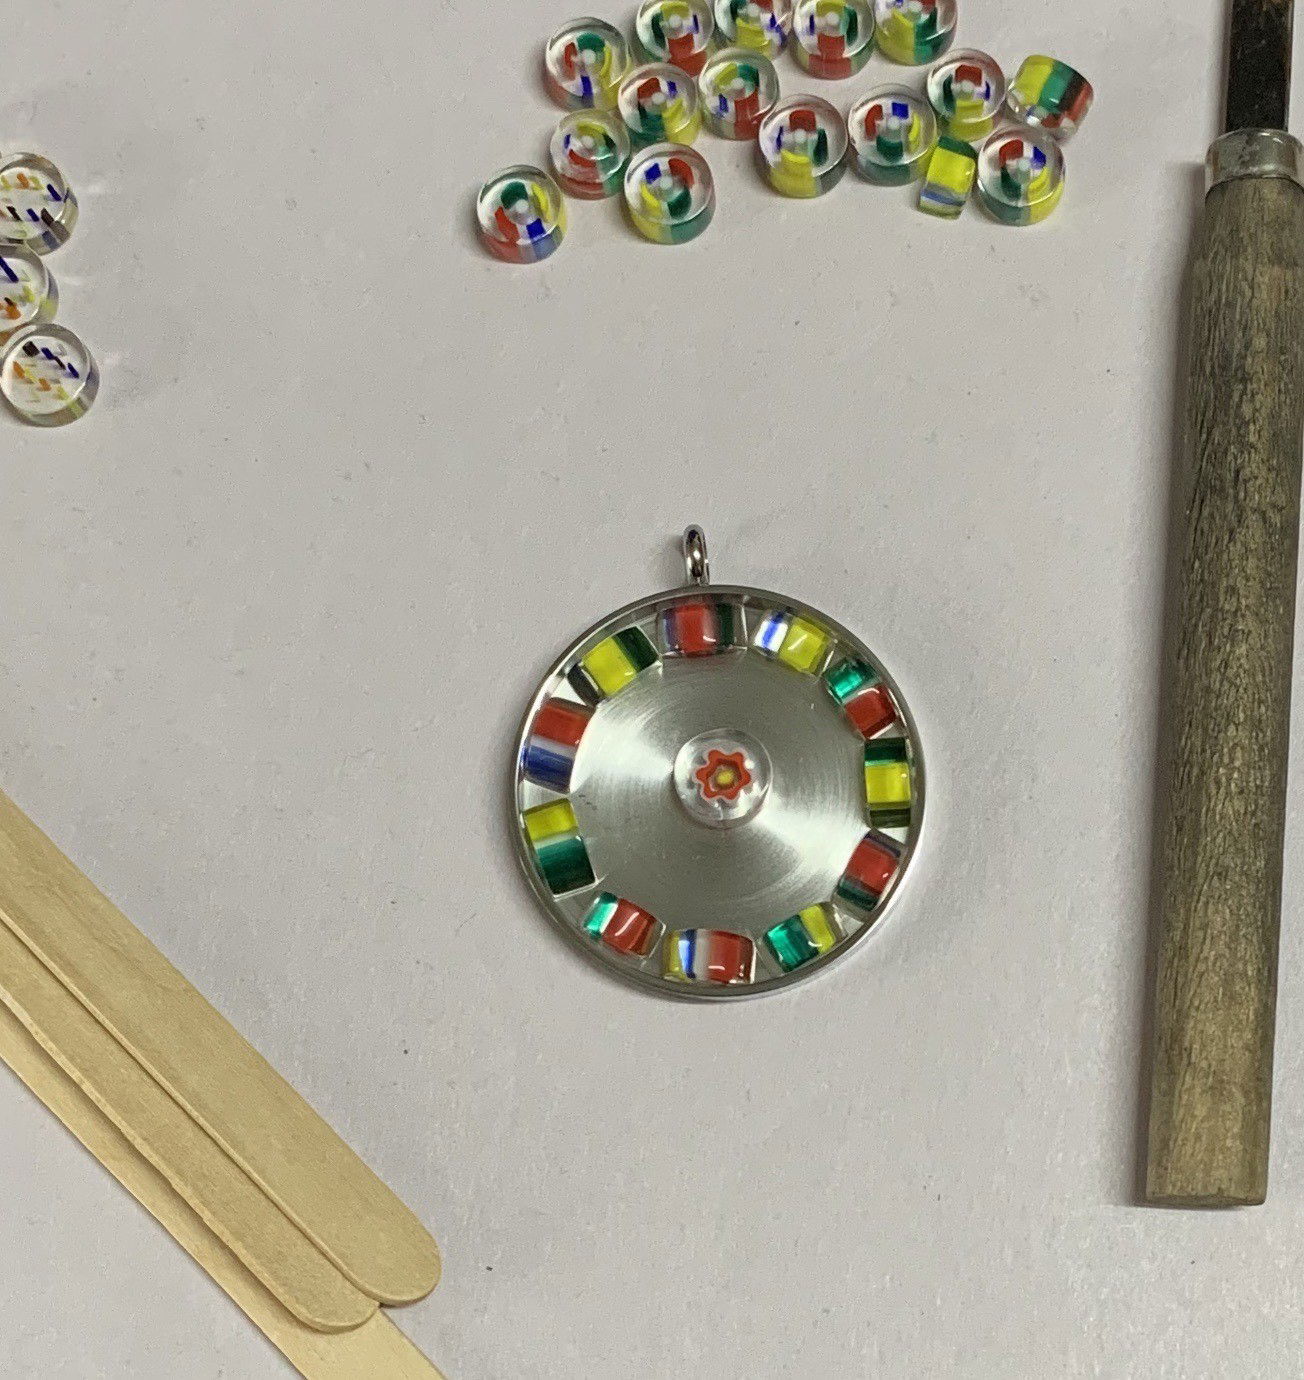
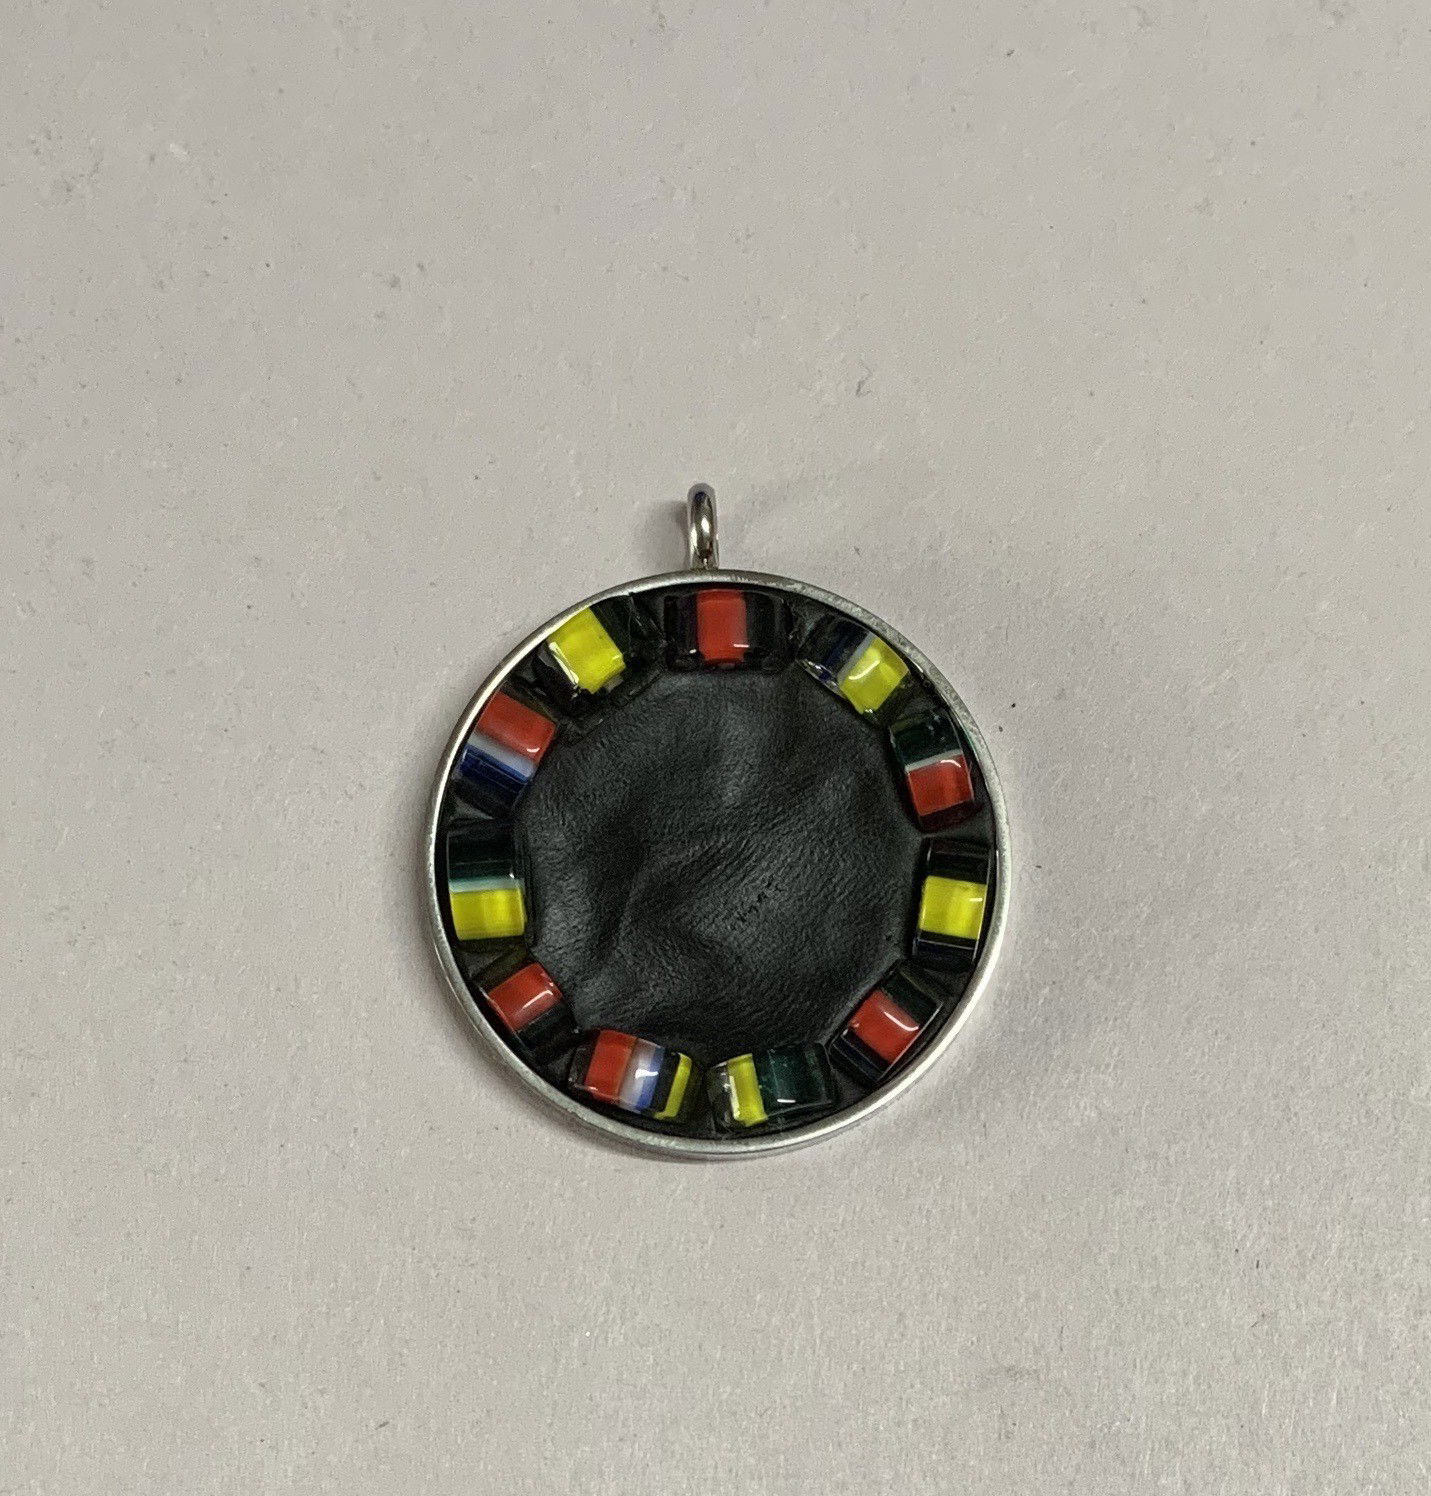
Step 6. Press the tesserae into the pendant.
Step 7. Clean up the back and sides on the pendant. Also (if you used your hands like I did) wash your hand with soap and water. I usually use the face washer to wipe off the AS from my fingers as i'm working and dry them with the dray section of the face washer. Ensure you don't have any small bits on your table etc. because once it hardens you will never get it off!
* all Apoxie Sculpt comes with instructions and safety directions, please follow these.